
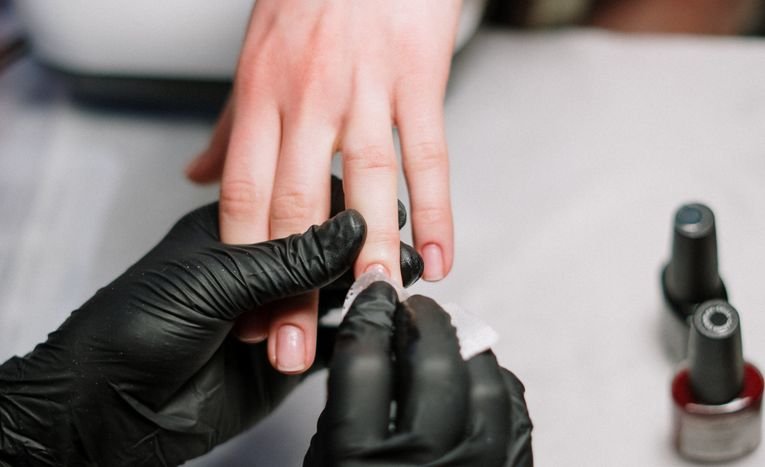
Removing gel or acrylic nails the wrong way is one of the most common causes of nail damage, far more common than the enhancements themselves being inherently harmful. Picking, peeling or scraping product off puts real strain on the layers of the natural nail underneath, sometimes taking months to grow out properly again. The good news is that a safe, effective removal is genuinely achievable at home with the right method and a bit of patience. This guide walks through it step by step.
Why picking and peeling causes real damage
Gel polish, BIAB and acrylic are all designed to bond firmly to the surface of the nail, which is exactly what gives them their durability. Picking or peeling this bond off by force takes the top layers of the natural nail plate along with it, since the enhancement is often more firmly attached to the nail’s surface than the nail’s own layers are to each other. This is the single most common cause of thin, weak, peeling nails after a manicure, and it is almost always avoidable with proper soak-off removal instead.
What you need for a safe at-home removal
- 100 percent pure acetone, not standard nail polish remover, which is diluted with oils that significantly reduce its effectiveness on gel and acrylic
- A coarse nail file, around 100 to 150 grit
- Cotton wool or cotton pads, cut to roughly the size of each nail
- Aluminium foil, cut into small squares for each finger
- A cuticle stick or orange stick for gently testing and lifting softened product
- Petroleum jelly or cuticle oil to protect the surrounding skin
Step-by-step removal method
| Step | What to do |
|---|---|
| 1. File the surface | Lightly file the top coat or shiny top layer of the enhancement to break the seal and let acetone penetrate properly |
| 2. Protect your skin | Apply petroleum jelly or cuticle oil around each nail bed to reduce irritation from the acetone |
| 3. Soak and wrap | Saturate a cut cotton pad with acetone, place it directly on the nail, then wrap tightly in foil to hold it in place |
| 4. Wait | Leave wrapped for 15 to 30 minutes depending on the enhancement type, acrylic generally needing longer than gel or BIAB |
| 5. Gently test | Unwrap one nail and gently push the product with a cuticle stick. It should move easily, not require force |
| 6. Repeat if needed | If product is still firmly attached, re-wrap for another 10 to 15 minutes rather than forcing it off |
| 7. Finish and moisturise | Gently buff any remaining residue, wash hands thoroughly, then apply cuticle oil and hand cream |
The golden rule: never force it
If product does not lift easily after soaking, the correct response is always more soaking time, never more force. Dermatologists consistently point to forced removal, rather than the acetone itself or the enhancement, as the primary cause of thinning, dryness and nail damage. Thicker acrylic sets in particular may genuinely need a second full soak, and that is completely normal rather than a sign something has gone wrong.
Gentler alternatives if you have time to wait
For gel polish specifically, some dermatologists suggest simply letting the polish grow out naturally, trimming nails weekly, rather than removing it chemically at all. This avoids acetone exposure entirely, though it takes considerably longer, since fingernails take around six months to fully grow out. For acrylics that are already visibly lifting, a gentler hot water and oil soak can sometimes work as a lower-chemical alternative, though it is less reliable than acetone for a fresh, well-bonded set.
Frequently asked questions
How long should I soak gel versus acrylic nails?
Gel polish and BIAB typically need around 10 to 20 minutes of soaking, while thicker acrylic sets generally need 20 to 30 minutes, and sometimes a second soak for particularly thick or well-bonded product.
Is it bad to remove gel or acrylic nails at home instead of at a salon?
Not inherently. A careful, properly timed acetone soak at home is a genuinely safe method, provided you follow each step and resist the urge to force product off. A salon removal simply adds the benefit of professional experience judging when a nail is truly ready.
What should I do if my nails feel thin or sore after removal?
This is usually a sign that product was removed before it was properly softened. Applying cuticle oil regularly and giving your nails a break from any new enhancement for a few weeks generally allows them to recover, though persistent pain or visible damage is worth having a professional look at.
Our recommendation
Always choose a proper acetone soak over picking, peeling or forcing product off, and treat “it needs more soaking” as the answer whenever removal feels difficult rather than reaching for extra pressure. Finish every removal with cuticle oil and a proper hand moisturiser, and give your natural nails a short break between enhancement sets when you can, which does more for long-term nail health than any single removal technique.